The the ones I've never managed to get flying (or fly well).
No 1 in the hall of shame – the pusher biplane.
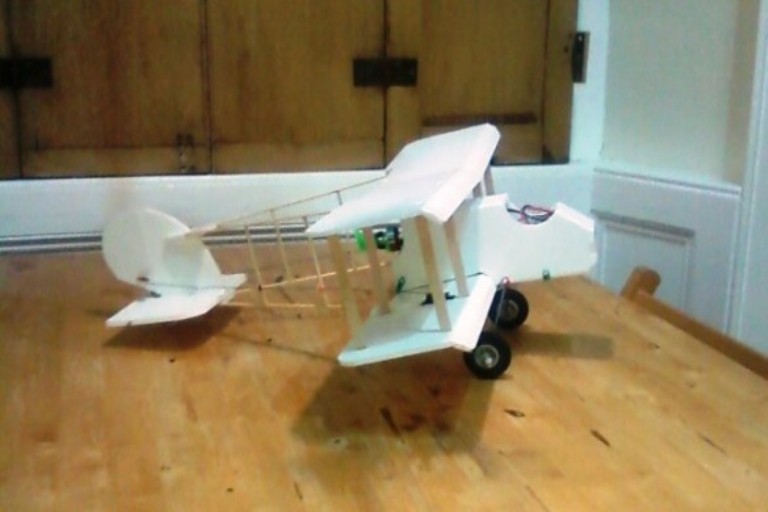
When I started building in foam I tried to create a pusher biplane. I took the rough proportions from an Airco DH 2 drawing and started to work out my sizes. The length of the BBQ skewers that make up the rear boom structure dictated the scale, producing a wingspan of 480mm (just under 19 inches). I also moved the horizontal stabiliser to the bottom of the frame to make running the pushrods easier. There's really not much to it, and the model came together quite quickly.
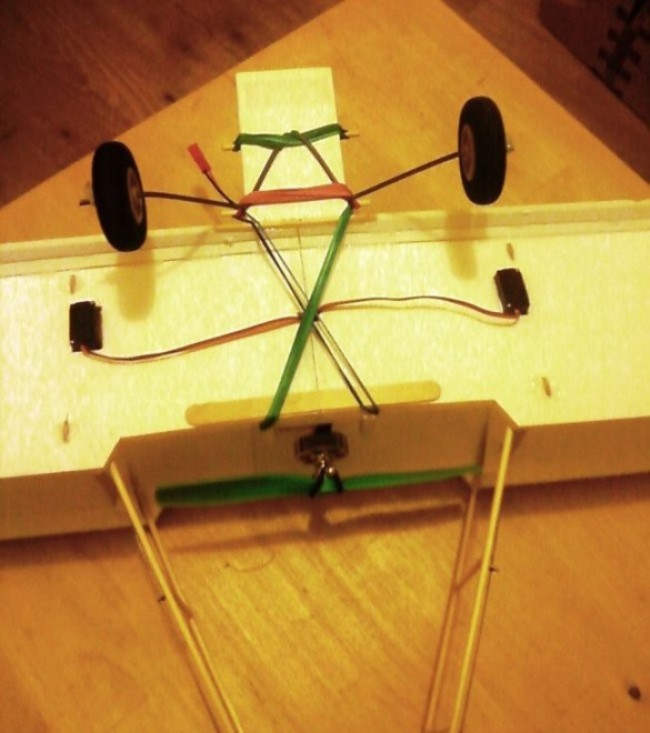
Vertical struts were made from lollipop sticks. I added dihedral for stability and undercamber for lift.
I made up little triangular plates to terminate the skewers and link to the horizontal and vertical stabiliser.
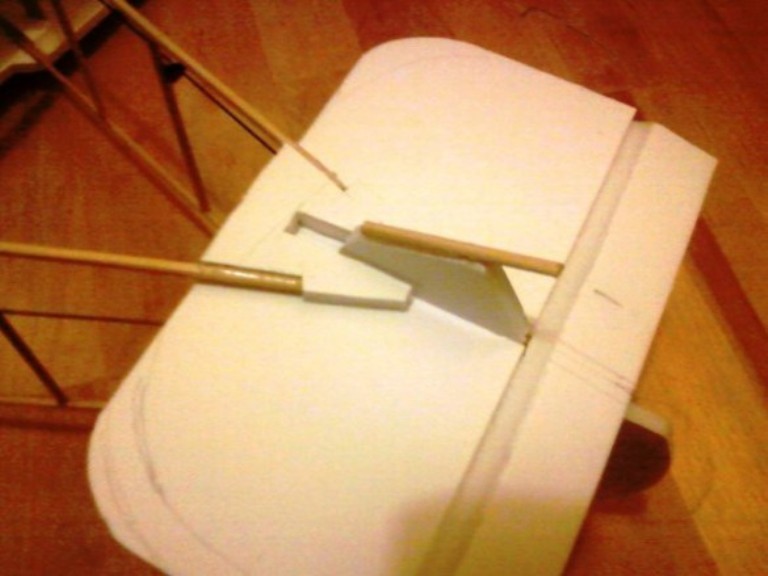
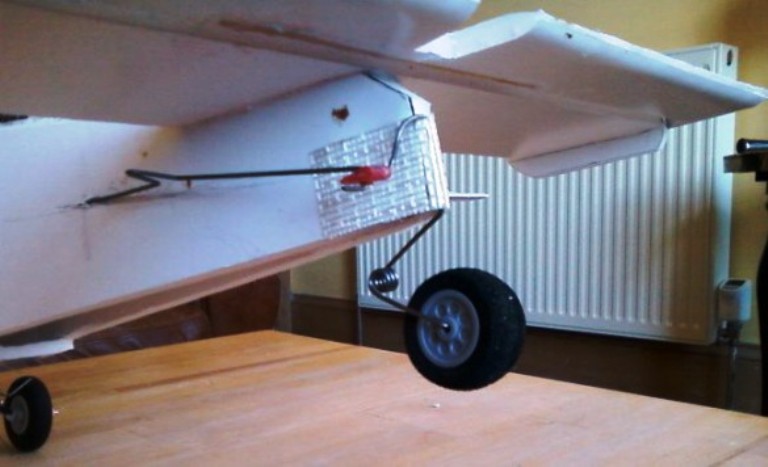
This picture shows the bottom triangle and the tail skid.
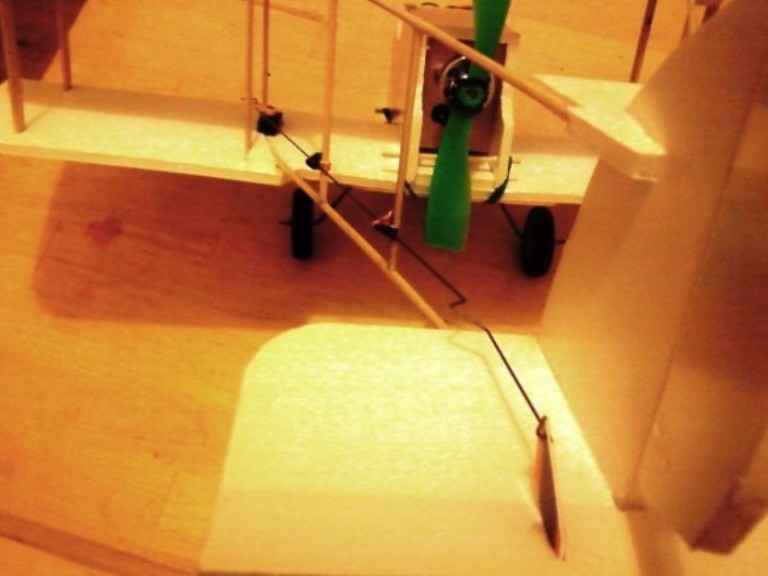
The pushrods pass through fairleads made from gift card plastic.
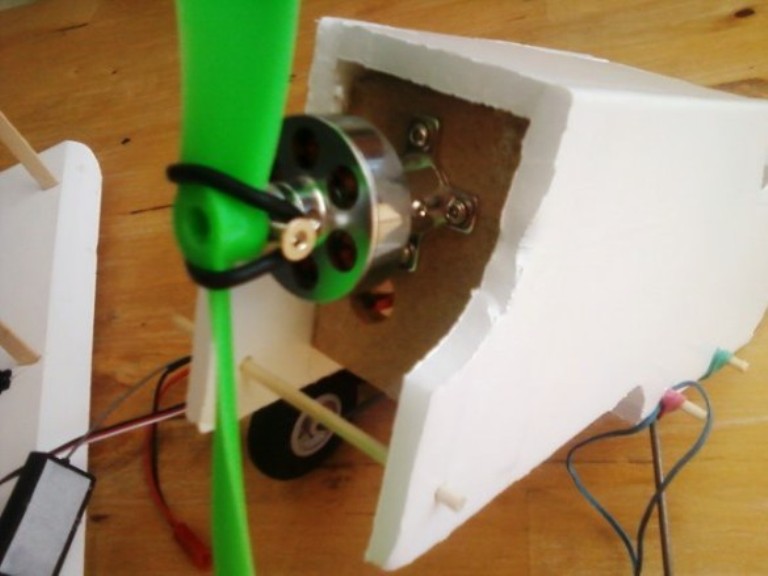
The motor is a 1300kv HexTronik 24gram Brushless Outrunner, and the prop an 8x4 slow fly cut down to 6 inches. Plenty of power for the weight of the airframe.
The little box fuselage located on the wing with elastics and skewers.
So what went wrong?
For a start, hand–launching it was a problem, and it would only taxi in very short grass or a hard surface. So getting it in the air proved difficult. And basically, the plane was just too fragile to cope with any abuse. I had a good few 'maiden outings' hoping for that first successful flight that would allow me enough time in the air to get the little beast trimmed out. But the flights were always short and frantic – ending in a nose–plant or rough nose–over. Something always got broken. I think the plane could have flown, but I eventually accepted defeat and gave up. I might revisit the idea someday, but it would definitely be with a larger and slower–flying version.
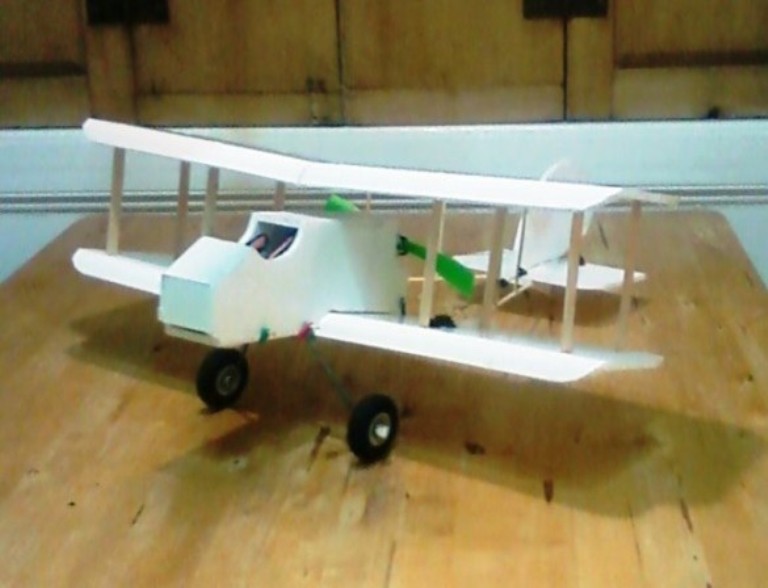
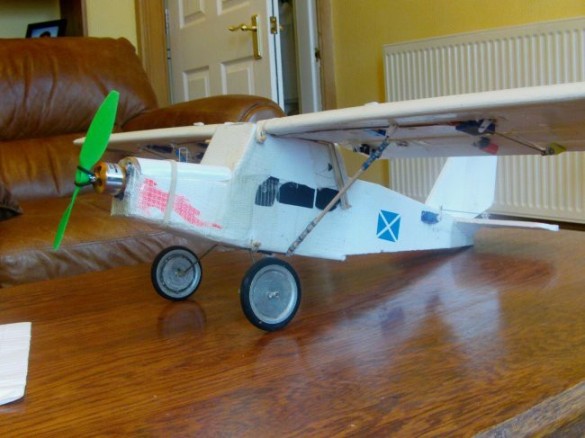
No 2 in the hall of shame – the Pilatus Porter.
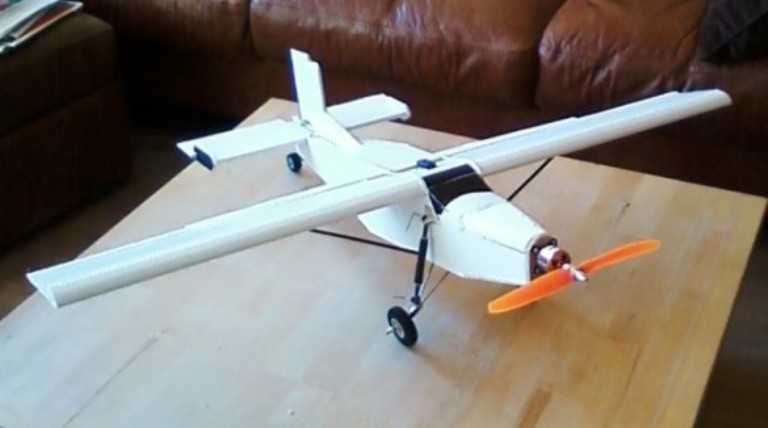
A set of plans for a free–flight balsa model downloaded from the OUTERZONE website got me going on this project. I printed out a tiled copy of the plans, transferred the outlines of the fuselage shape to foam board, added some corner joins and cut it all out. As you can see it all went together rather well…
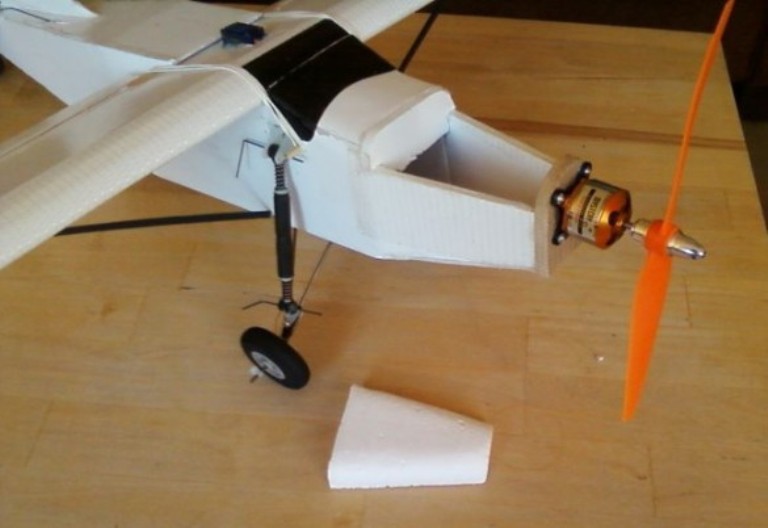
The Porter has a very narrow nose, which excludes the use of a power pod, so the engine was mounted on a butt–jointed firewall. The suspension struts are mounted on strips of 6mm MDF glued inside the cockpit area. The motor is a 2200KV which works well with the small prop on the plane. It's a bit oversized in terms of power output, but I reasoned I would just go light on the throttle. In retrospect I would have been better thinking about overall weight, and how much the motor was contributing to that.
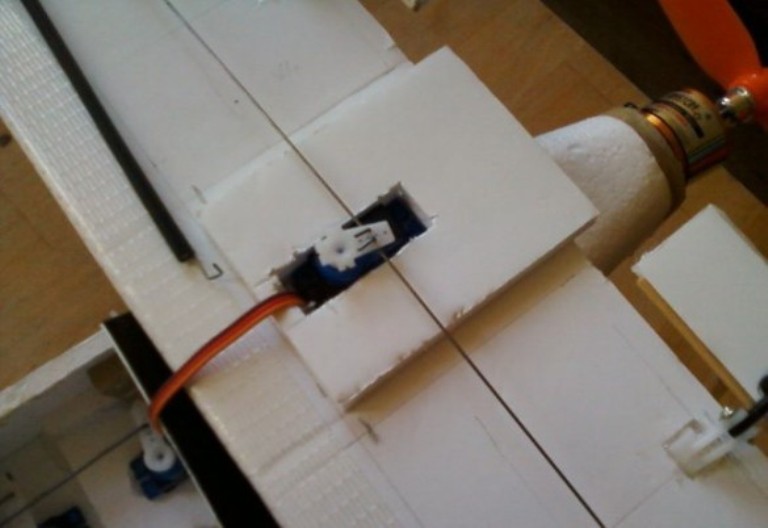
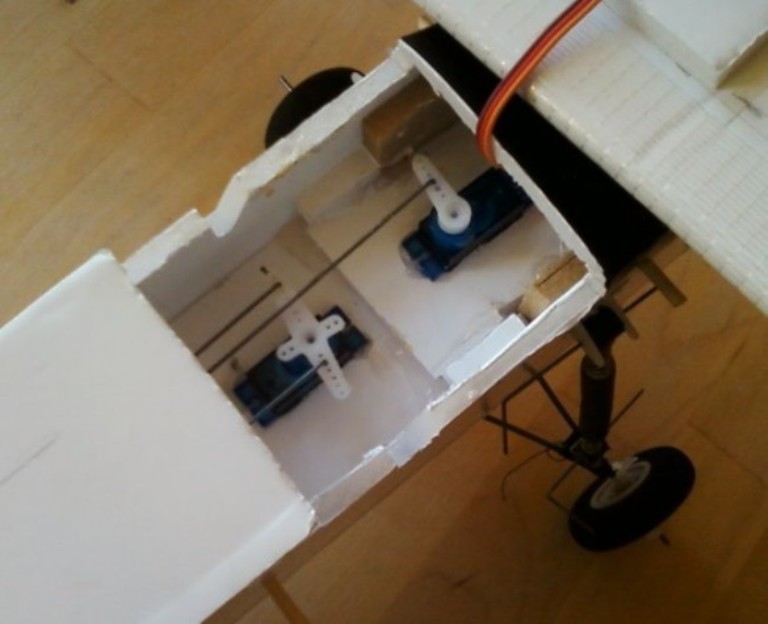
I was going to install separate wing servos for the ailerons, then decided just to go with a single centrally mounted servo operating the ailerons through control rods and levers…
…you can see the aileron control rod emerging from the fuselage, running along the wing and into the 'bell crank' lever. This lever turns the motion through a right angle to operate the ailerons. This is overkill and I probably saved no more weight than if I'd used two 7gram servos. Plus there's too much play in my assembly which translates to sloppy and unresponsive control.
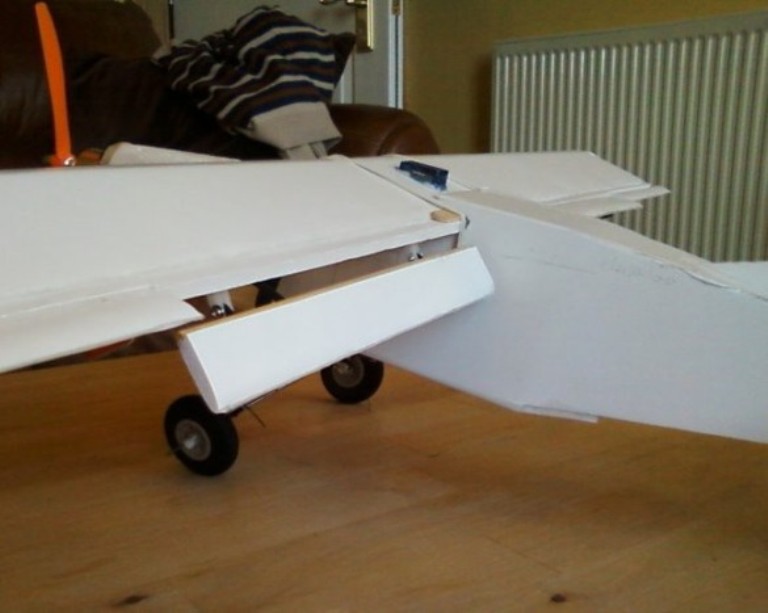
The wing was a basic Armin construction but I added a couple of mounting points for the wing braces. These are servo arms with a skewer through the end to stop them pulling through the wing – I've used the same design in two successive builds; the Velie Monocoupe and the AVRO 539B. These wing braces are control–rod wire with a length of skewer alongside, all held together by heat shrink.
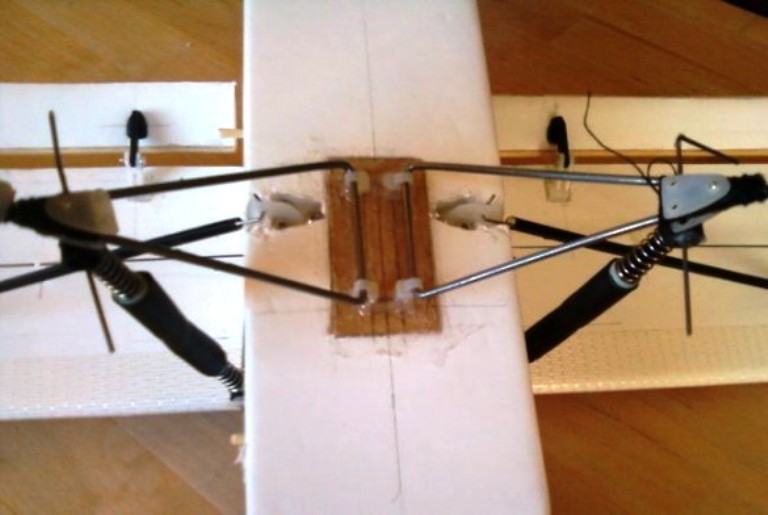
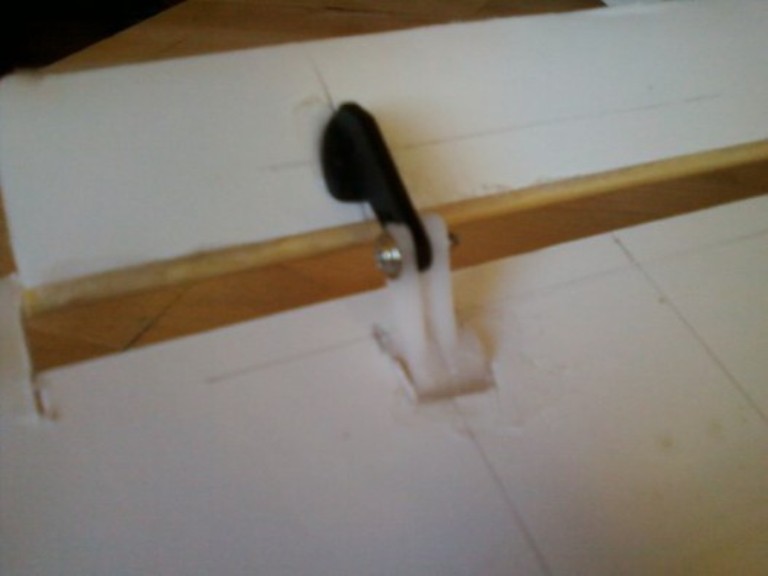
Here you can see the inboard ends of the wing struts locating on the fuselage. Both ends of the struts have modified Z–bends, which makes it easy to fit and remove the wing. I used chopped–down control horns at the inboard end, which are screwed onto an internal pad of MDF.
The undercarriage swinging arms are hinged on zip ties with a small MDF pad creating a hard base – this is also glued to the larger internal MDF pad.
This combining of wood and foam board appears again in my Velie Monocoupe. Selective use of wood gives strength where it is needed, and joins well with the foam board. Weight is an issue with this smaller plane, but makes less difference with a larger plane. The bonus of creating real strong points in the fuselage creates great flexibility when adding struts and reinforcing to the wings.

The vertical and horizontal stabilizers were fairly simple, but to get the look of the overlapping elevator and rudder I reinforced the fragile foam projections with skewers. I also used a glue method for rounding the edges of the foam board.
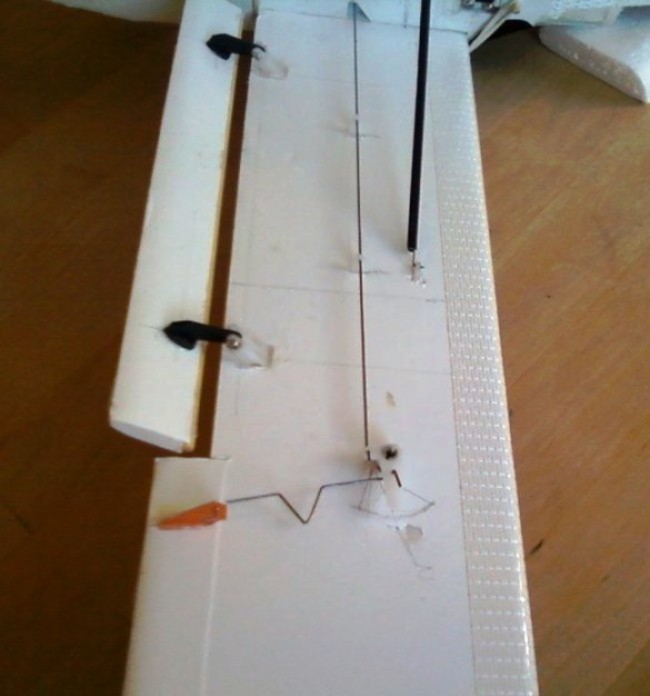
The steer–able tail wheel was made up from wire and a length of cotton bud shaft glued and taped onto the end of the fuselage. This was the start of my simple tail steering system that I now use on all my models. I wound up a little spring and bent the wire to tuck the wheel beneath the fuselage – just like the real thing. I bent the steering/tiller lever to project on the opposite side of the centreline to the rudder control horn…
…and this allowed the rudder servo to operate both rudder and tail wheel using two separate control rods. I put the steering control rod further out on the servo arm so it turns the wheel more than the rudder. This gave great manoeuvrability on the ground. At the front of the opening you get a clear view of the two MDF pads that the top suspension mounting lugs are screwed into.
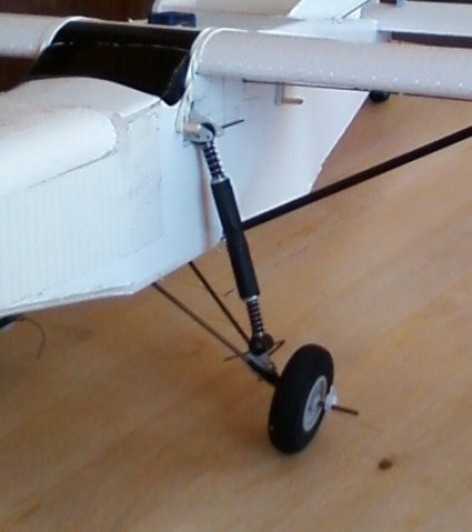
The suspension struts were made using bits of lego! I later scrapped the whole assembly to reduce weight and went back to a simple wire undercarriage.
I wanted 'proper' flaps on the wing. The flap hinges are a combination of servo arms and control horns. As it was such a narrow flap I added a skewer reinforcement along its leading edge. More weight! Again this would have been fine with a larger model, but at this scale I should have stuck with the familiar paper/glue hinges.
I really liked the way the flaps deployed.
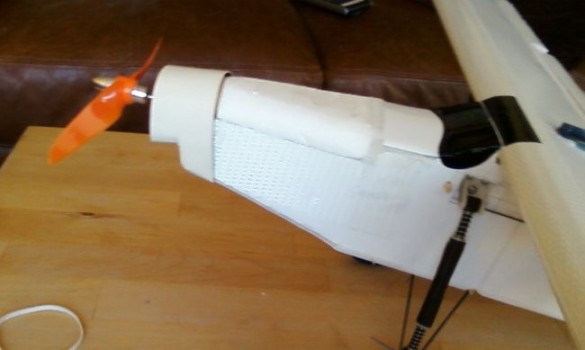
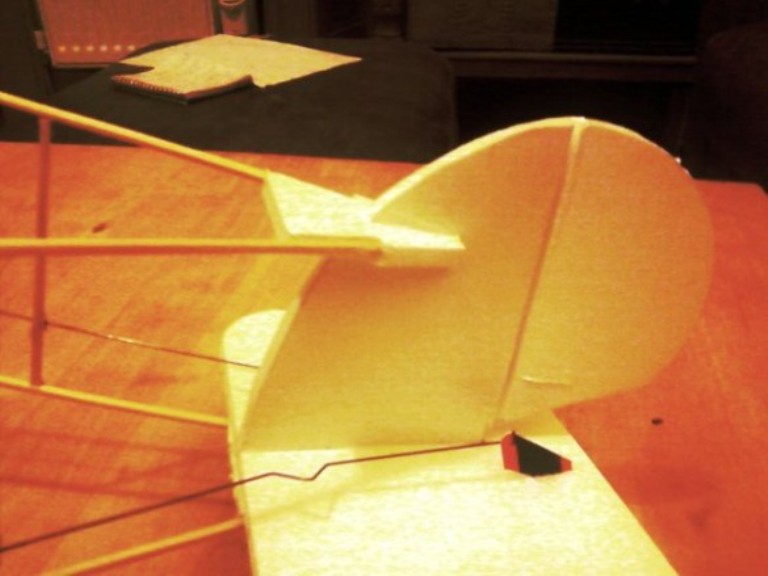
I added a little nose piece made from foam board, stripping the paper from one side to allow the tight curve over the top. The nose hatch is made from shaped polystyrene. I now find myself inspecting all types of packaging before putting it in the recycling bin to see if it might have a build application.
So, did it ever fly? Yes, after a fashion. This is was what I would call a red–face–flyer. I broke so many props trying to get it in the air it was getting silly. I revisited it when the grass on my flying field was nice and thick and did manage to get it in the air. Not an easy plane to fly, and very quirky. There was something very wrong with it's flight characteristics. Applying too much elevator caused the plane to immediately flatten and fly level. (Pretty confusing when you are halfway through a bank–and–yank turn.)
Here's the flight video;
I think size and weight have been an issue – a bigger scale plane would be more docile and easier to fly. The narrow chord on the wing probably made getting the CG right more critical, though I recently ran the numbers through a CG calculator and came up with a surprising 35% of chord for the CG – I'd always placed it much further forward, between the 25–30% range. Possibly that explains the strange effect the elevator has on the plane.
Wing loading comes in at just over 16 ozs/ sq. ft. which (in terms of flight characteristics) puts it on the border between a trainer and a sport model. It all sounds good, but it never quite worked due to control instability.
I eventually went for a major remodelling with more wing area and bigger control surfaces – the Pilatus Hi–top. It flies a bit better, but it's not a rewarding plane to fly, so I'll probably scrap it and use the motor for something else.
I may not have got the plane I wanted from either build, but I did get an awful lot of familiarity with working in foam board and developed lots of useful techniques that I used in later builds. A kind of lose–lose–win–win–win situation.