After a few attempts at this I finally came up with a winning system for my foam board builds.
It's super–simple, cheap and easy – best of all, it seems to stay put.
It's been so successful I now use it on all my builds.
You need;
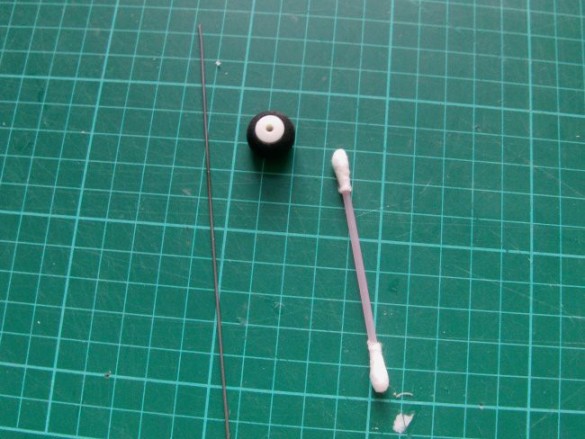
About a 120mm(6 inch) length of control rod wire – 1.2mm dia. (18SWG) or thereabouts.
A cotton bud.
A wheel – or not, if you just want a skid. One less thing to drop off!
Long nose pliers to bend the wire.
Some way to cut the wire (long nose pliers?)
Hot glue to stick the final assembly to your plane.
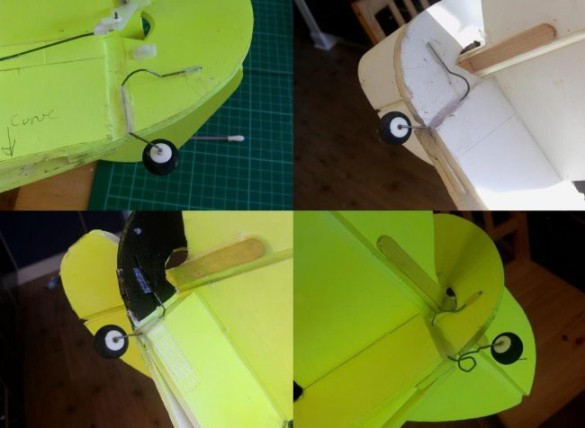
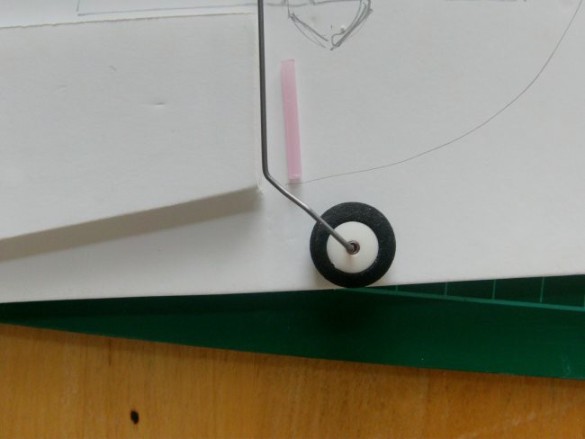
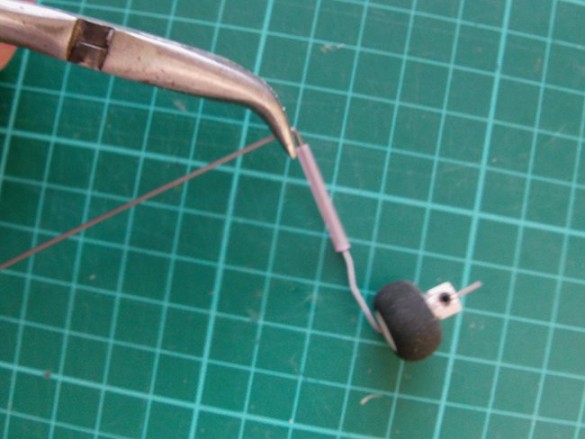
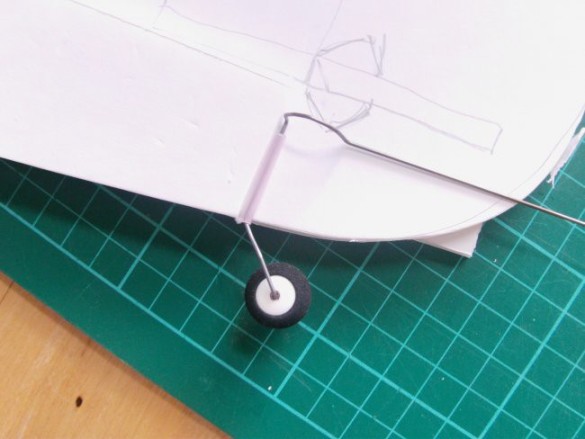
Here's a mock–up of the back of your typical foam board build. A short length of tube from the cotton bud will become the hinge for the steering. You'll be fitting the tube on the opposite side to your bevel – this keeps the hinge point of the rudder and the steering as close to each other as possible. If your bevel is on this side (as you look at my mock–up) you'll need to think it through and reverse all the bends so that you can fit the assembly on the other side of the rudder.
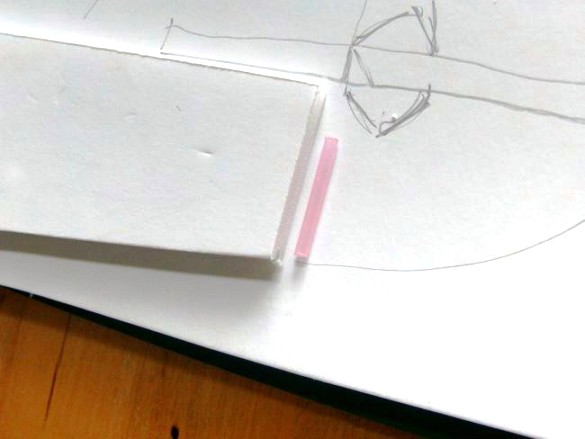
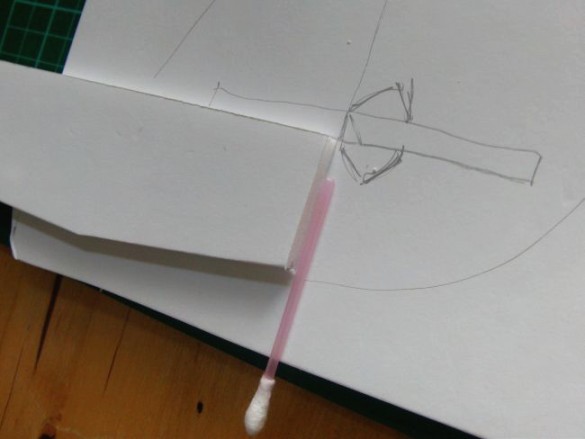
Cut a length of tube so that when it lines up with the bottom of the fuselage, the top won't interfere with the elevator or overlap the elevator cut–out in the rudder.

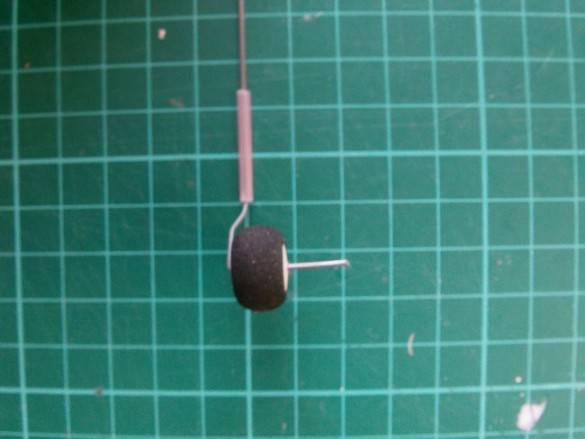
The wheels I use have quite large axle holes, but the cotton bud tube is also a good fit as a sleeve to reduce the size of the hole.
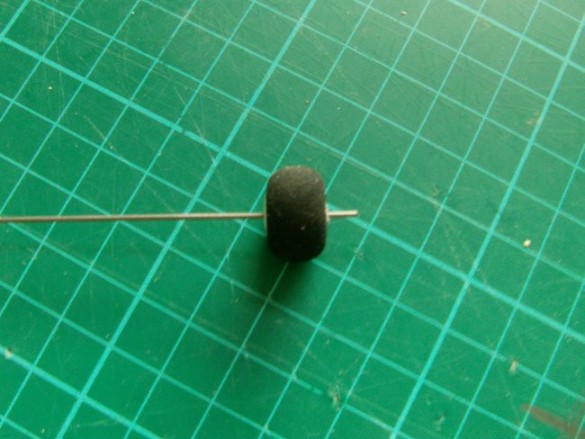
Leave enough wire sticking out for a screw collet, glue blob, CA and washer, or whatever fitting you intend to hold the wheel in place with.
First bend is a right angle.
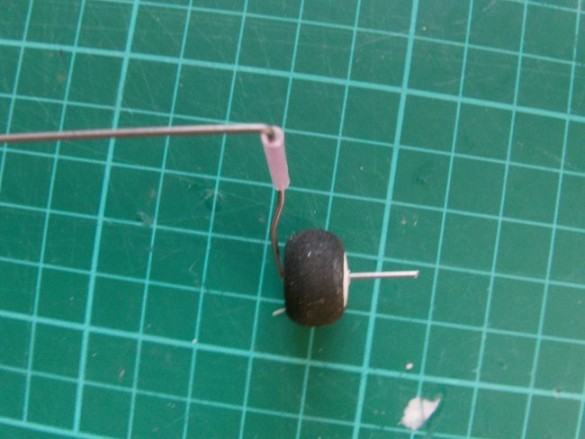
Not essential, but you can snake the wire over the top of the wheel with two shallow bends.
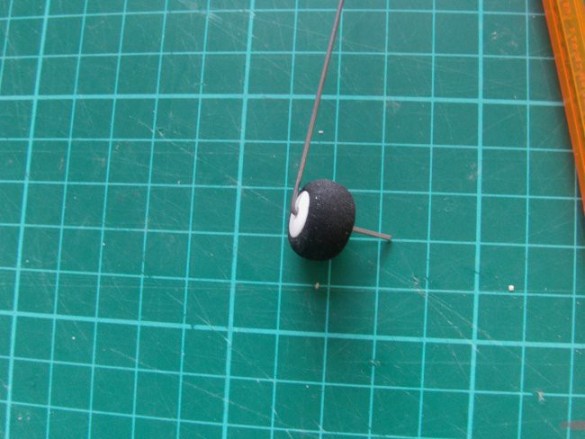
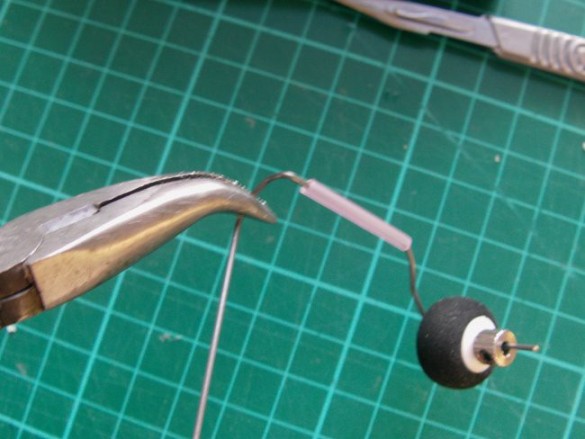
Here's a quick test fit. You'll see the next bend will need to turn the wire so that it runs up the back of the fuselage.
That's the bend made…
…and you can then slip the tube over the wire.
Here's the end view. You now make another right angle bend at the top of the tube…

…and this traps the tube. Note the bend is not in line with the rudder but will appear to make the wire stick out sideways from the fuselage – that's OK!
View from above.
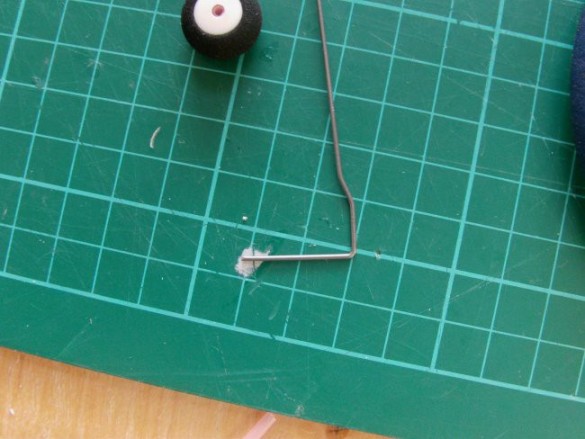
Now we want to bring that wire around so that we can fix it to the rudder. Put your pliers here and make a small bend.
Move the pliers along the wire and make a series of these shallow bends, each time about the width of the jaws – this creates a rough curve.
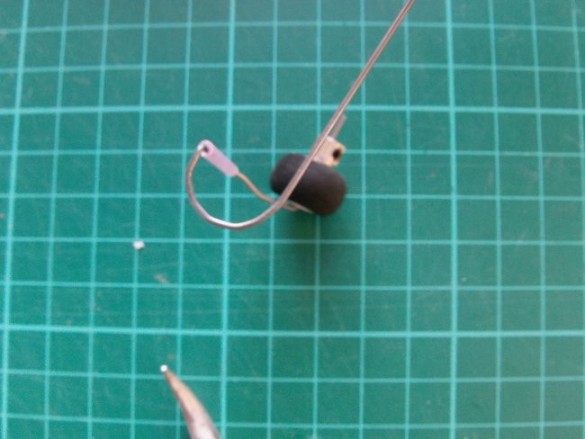
Eventually you'll have a little loop, and the wire will now be pointing out the other side of the fuselage. Almost there!
Last bend. Turn the wire through a right angle until it points to the back of the plane and is in line with the wheel's direction of travel.
Here's the test fit. The loop is needed to stop the wire binding against the rudder and restricting its motion. Without the loop the rudder would stick and the mechanism wouldn't allow the plane to turn.
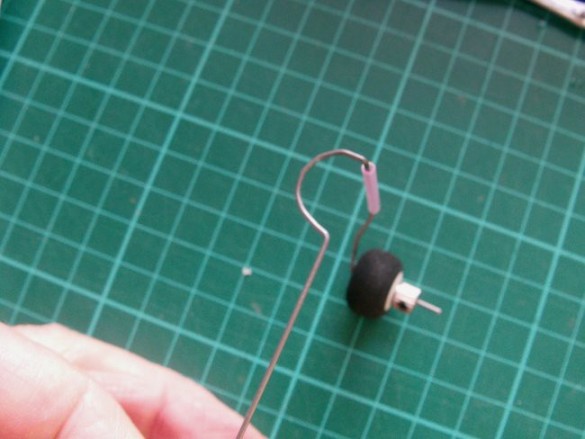
Cut the wire so that you have a reasonable length of lever to act on your wheel. Now cut a little length of cotton bud tube to fit over the wire. One of the VERY important things about this system is that the steering/tiller wire is quite a sloppy fit in the tube. Without a little play, the system will seize up.
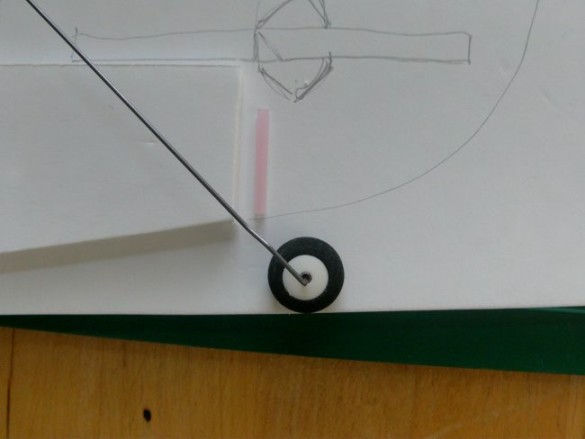
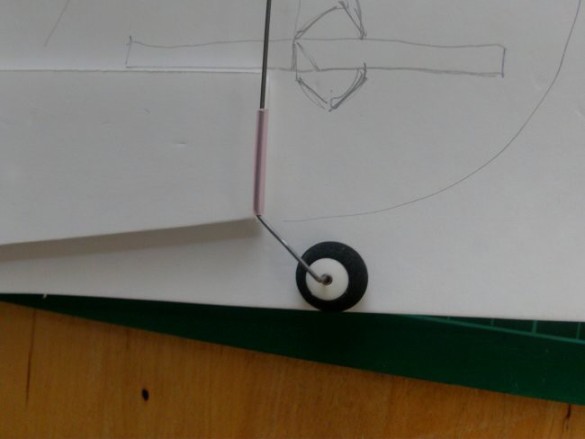
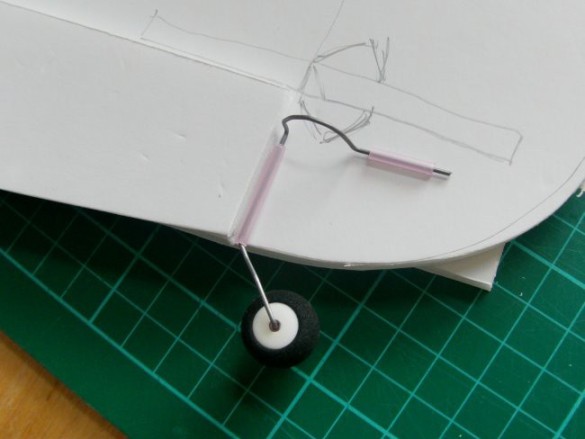
UPDATE – I've discovered some cotton buds have smaller diameter holes, which works well as the hinge tube but not as the steering/tiller tube. If this is the case either stretch the tube or find a slightly larger tube (ink reservoir tube in a ball point pen). Once the hinge tube is in place a little final adjustment is usually needed to get the last straight section of the wire to sit in line with the rudder (as in the picture above). You want a good ‘rattly' fit. The steering tube should be kept about 6mm (1/4 inch) away from the loop. When the rudder moves the wire actually slides in and out of this tube – just a couple of mm's, but it needs that movement.
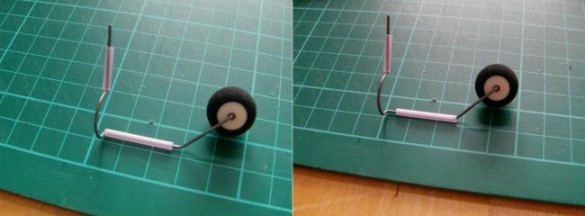
When you come to fitting the steering it's good to get the wire to slide up the hinge tube (second picture) so that the weight of the plane is taken by the tube resting against the wire and not by the lever resting against the rudder.
Glue the hinge tube onto the back of the fuselage. If space is a bit tight near the rudder hinge, you can run a skewer down the end of the foam board to help bed–in the hinge tube. It's important to make sure the glue doesn't bind or restrict the rudder, but it's also important that the steering hinge is close to the rudder hinge – you just have to be careful! I've found hot glue works well enough on both tubes, with a little smearing to get good contact up the sides of the tube. I've also just taped the little steering tube onto the rudder.
You do end up using less wire than I say at the beginning, but it's always handy having a little extra sticking out when you need to apply pressure for bending.
Any small wheel will do, but the ones shown are from Hobby–King – $1.95 for 5.
Small Wheel (Dia.: 20mm Width: 10mm) (5pc/Bag) – PRODUCT ID: OR006–01003
If you're just doing a skid version, first turn the end of the wire into a tight loop to make a 'safe end' – that gets rid of the sharp point. Allow about 30mm for the skid and then work forward from the first mock–up picture of the tail.