Alistair Potter's RC plane tips.
Rejuvenating a weary FT Flyer
Back to planes list. Back to homepage.
This plane is brilliant! In stronger winds I stick on a heavier battery and drive it harder – in light winds it carries almost any size of battery and ghosts around in high–alpha mode. With that versatility it can get a lot of use, and plenty of abuse too.
Wingtip repairs…
…nose repairs…
…tail repairs etc. etc. etc. My Flyer is an airborne advert for packing tape and hot glue – but it still keeps flying!
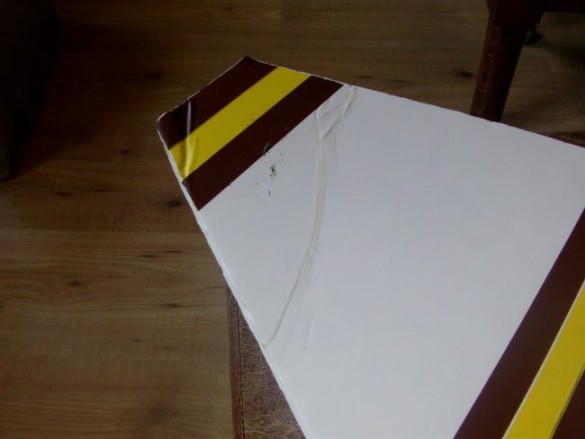
Then one day it went kind of 'mooshy' and unresponsive in the air. The reason – the centre wing join had gone floppy. FYI – this plane does not fly well as an ornithopter, and without the dihedral it's got almost zero stability.
Time for a new wing? NOT when there’s a hot glue gun around!
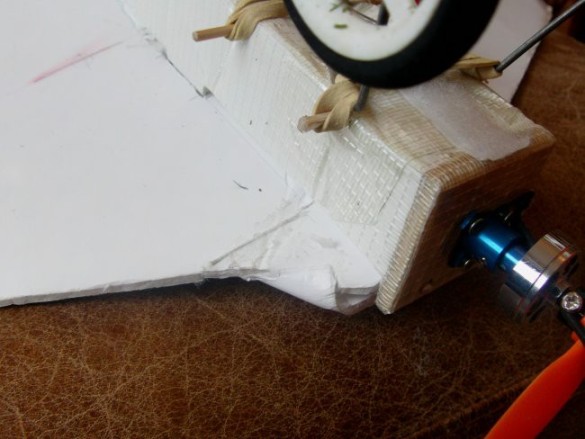
First I removed the power pod and did the obvious repair, cutting open as much of the centre wing join as I could, refilling it with glue and resetting the dihedral. But without removing the tail section I couldn’t repair the whole join – time for a bit of reinforcement.
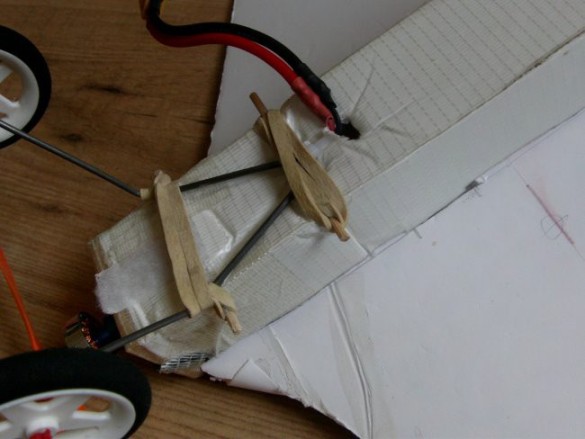
I used two rectangles of foam board roughly 100 x 80 mm (4" x 3") and deeply bevelled the two opposite sides that will lay against the wing. One rectangle goes at the front…
…the other at the back, just behind the servos. The deep bevel gives lots of contact area to get a strong join. When glued down these new pads help ‘set’ and reinforce the dihedral.
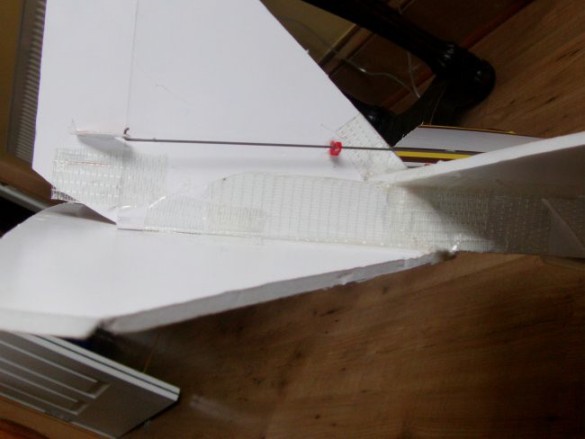
I did a test fit, positioning them over the centreline, and measured the gap underneath. I then made up a small vertical stabilising element to be glued on the centreline. OK, I got it a bit wrong at the front here, but it still does the job.
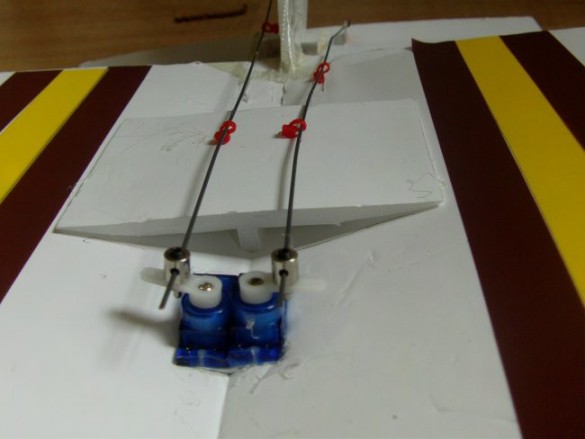
…and back (much neater). This prevents the centre of the new pad from flexing or getting kinked from careless handling or a crash. This addition also makes the whole assembly incredibly stiff – which is a good thing.
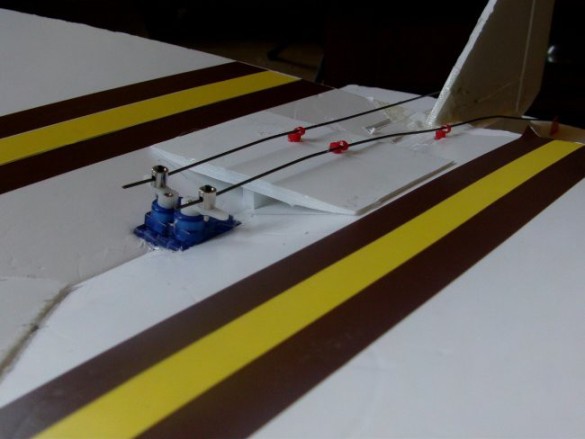
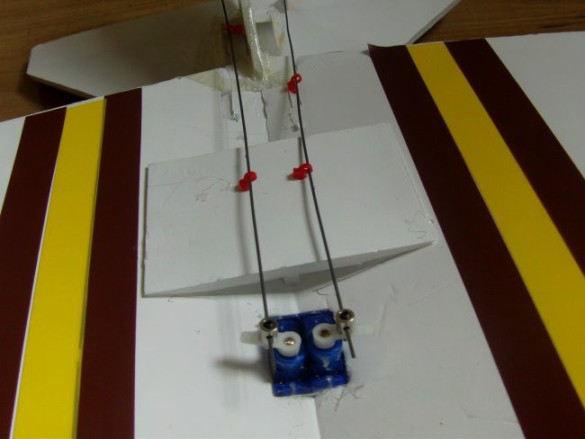
You'll also note the new zip–tie eyes for the control rods and the creative bending of the rods to get them to the control horns.
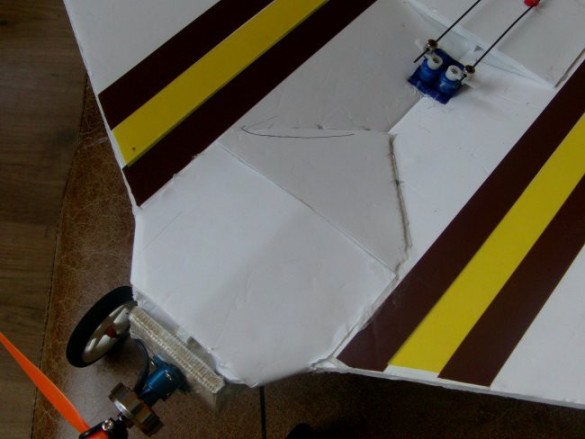
When I was positioning the front pad I intended cutting off the excess – following the leading edge of the wing. Instead, because the foam was bevelled and easy to bend, I rolled it over and stuck it down under the wing.
As you can see this produced an extremely strong and attractive finish. Which I'll admit looks better than most of the rest of the plane.
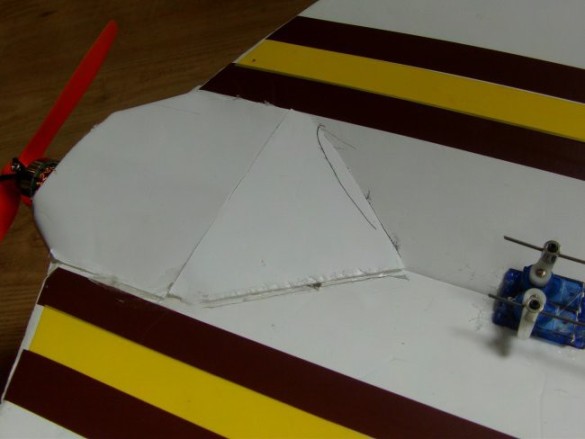
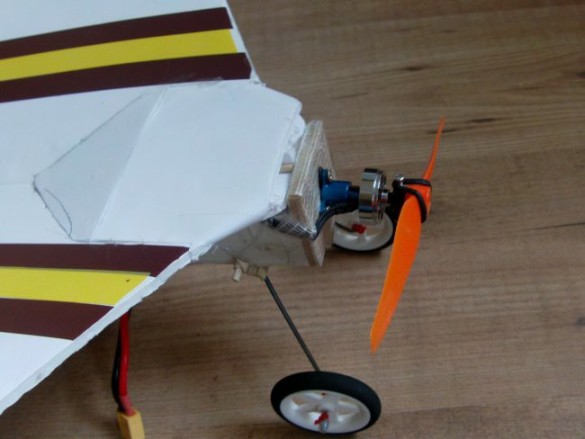
Another mod was the triangular wedge behind the front panel. I cut this to fit, and then bevelled the two rear edges. This glued down to produce a neat finish. It does add a little strength, but mostly it’s just for show.
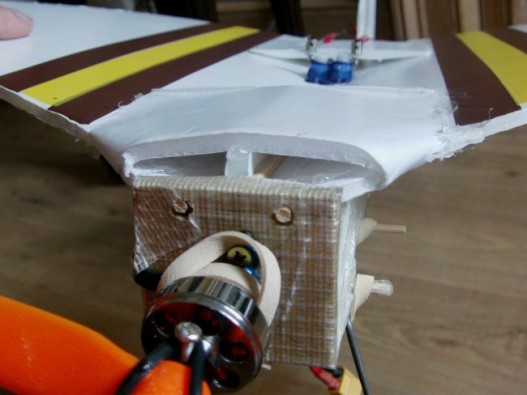
You might also spot that I shaped the front of the wing so that it didn't come to a point, but curved it forward and made a flat edge for the swappable pod to rest against.
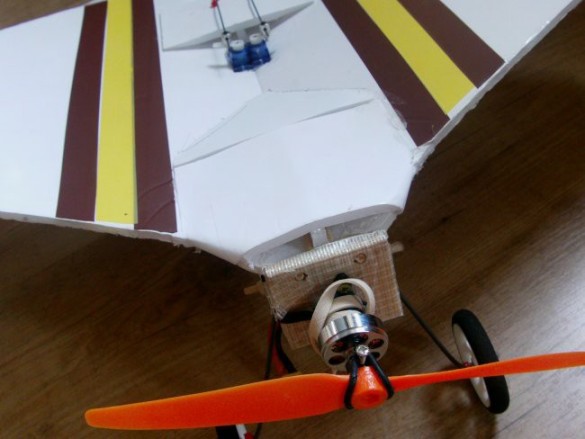
End result – the FT flyer is back to flying the way it should.
NOTE – you don't have to wait until the wing goes floppy before applying this mod! If you check out the original FT Flyer, you'll spot it had carbon fibre rods doing much the same job as these foam pads.